
Live Preview |
Especially the picture capture settings are important and most used by users of the application. The best settings for good performance for a specific user application are often a resolution / quality versus frame rate issue. Higher resolution / no compression means lower frame rate due to the higher amount of data which has to be transferred over the connection link which has a limited bandwidth of up to 480 Mbps (USB 2.0) or 100 Mbps (LAN). Compressed picture transfer with the native Visualizer resolution normally provides the best results for most applications.
The current shown image can be saved on your hard disk with the "Save" button in the Save Ribbon Tab.
Additionally the Live Preview can be compared to a local stored static image.
Click onto the item of interest to open the corresponding subject:

Live Preview is available for all Visualizers which are connected over USB or LAN. For certain Visualizers connected over LAN also the "UDP multicast stream transfer" is available. In case the local infrastructure is not capable to forward multicast packets, the application will fall back to continuous single picture transfer. note
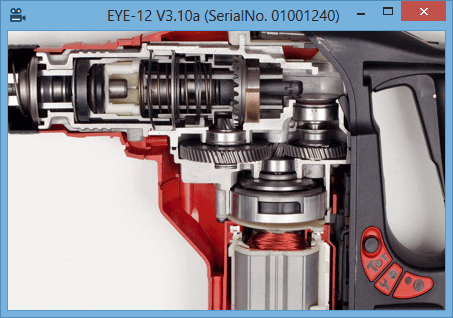
To start a Live Preview window, just double click onto the desired Visualizer in the main window.
When double clicking onto a Cynap or Cynap Core device, the web browser will be opened (Live Preview is not supported on these devices).
As soon as the live preview is started, the respective Visualizer is marked with a camera icon in the main window.
![]()
Click this button to pause the current running live preview. Click it again to proceed the Live Preview.

You can change the resolution of captured pictures from the connected Visualizer. Possible resolutions depend on the connected Visualizer model. Use the drop-down menu to select the desired setting.

Click the JPG/BMP button to change from compressed (JPG) to uncompressed (BMP) transfer mode.
![]()
You can adjust the quality of compressed picture in the "Quality" drop-down to the desired position (four quality levels are available).
A lower picture quality will result in a higher compression level of the picture which will reduce the amount of data to be transferred over the connection link. This will automatically increase the frame rate but the picture quality will be decreased. Use the drop-down menu to select the desired setting.
![]()
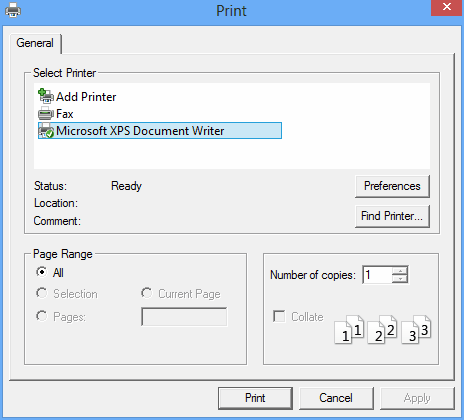
The application vSolution Link is able to quickly print out the currently displayed picture.
Use printer preferences to change settings like orientation, zoom.
Just click the "Print" button in the "Live Preview" tab to open the standard printer dialog box.

Select the desired settings and click "Print" to print out the picture.

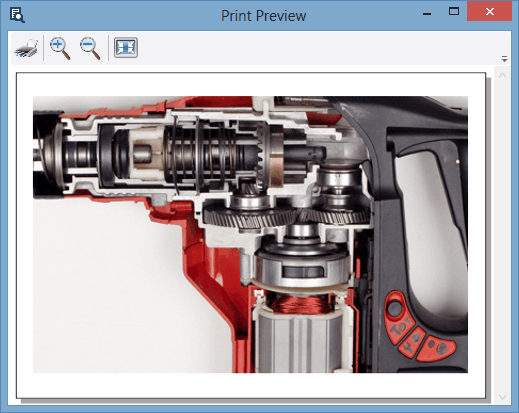
Changes like landscape to portrait has to be changed in the preferences of the printer driver. The Print Preview window will not be updated.
The native resolution of a picture captured from a Visualizer is currently 1280 x 960 or 1024 x 768 pixels (depends on the Visualizer model). This is a perfect resolution for displaying pictures on a computer monitor (e.g. on a website or in a Power Point presentation).
If the captured picture is to be printed, the maximum picture size will be as follows:
When printing with a standard office laser printer (Resolution = 150 dpi):
Max. 217 x 163mm (8.5" x 6.4") using a Visualizer with 1280 x 960 pixels native resolution
Max. 173 x 130mm (6.8" x 5.1") using a Visualizer with 1024 x 768 pixels native resolution
When printing with professional printers (Resolution = 300 dpi):
Max. 108 x 81mm (4.3"x3.2") using a Visualizer with 1280 x 960 pixels native resolution
Max. 87 x 65mm (3.4"x2.6") using a Visualizer with 1024 x 768 pixels native resolution
To change display settings of the Live Preview window.

To zoom in click the "Scale Up +" button and to zoom out the "Scale Down -" button. To show the full picture, just click the "Fit To Window" button.
Click the "100%" button to show the Live Preview window in native resolution (selected resolution). Window size depends on selected picture transfer resolution and on computer monitor resolution.
By clicking the right mouse key on the Live Preview window the context menu will be shown.
Click onto the item of interest to open the corresponding subject:
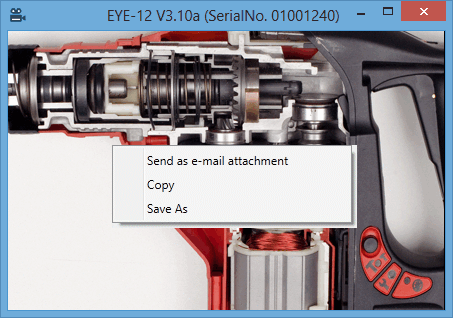
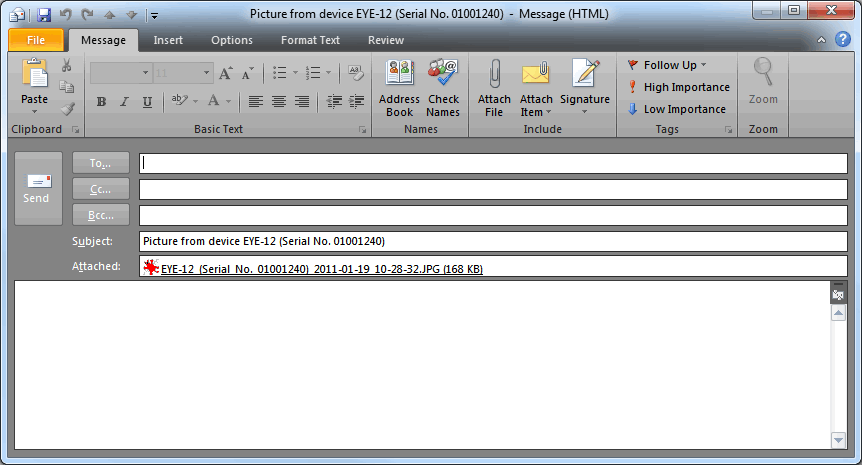
Sometimes it's necessary to share a picture with other people. Therefore a simple way of sending the currently displayed picture to e-mail recipients was added to the application.
If you press the right mouse button in the picture area of the main window you'll get a context menu which allows you to send the currently displayed picture as e-mail attachment. Simply select "Send To E-Mail Recipient" to open your standard mail client with a new message where the picture is already attached to.

Copy the currently shown image to the clipboard and to drop it into another application (please consult the help function of the other application how the content of the clipboard can be inserted, the key combination [STRG]+[V] works mostly).
This way it is not necessary to save the picture before.

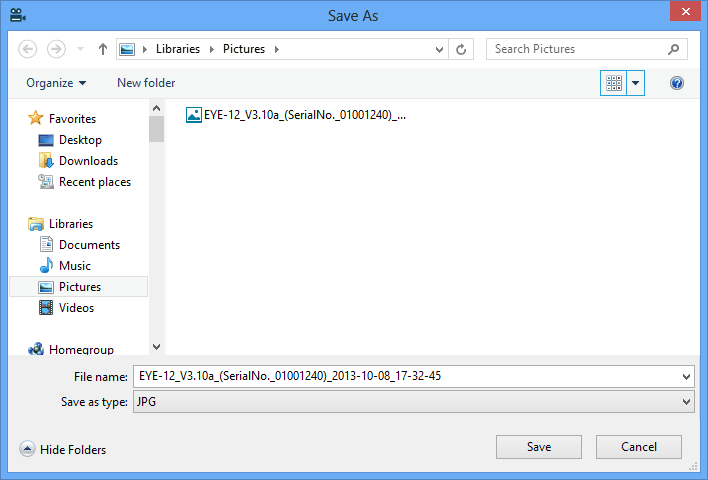
Depending on application and monitor setup it could be much quicker to save the currently shown image by using the context menu. The subject "Save As" has the same functionality as the icon on the Live Preview ribbon

By selecting "Save As", you have to enter some information (e.g. file name, location, picture format) in order to get the picture saved.
The Fullscreen mode is used to display the Live Preview window without any disturbing menu, tool or status bars. To start the Fullscreen mode, simply double click on the picture area of the Live Preview window or press F11.
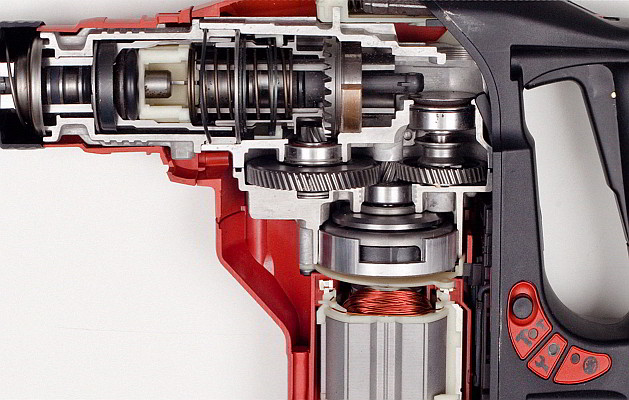
To exit the Fullscreen mode just double click on the picture or press F11 or ESC.

By default, the Annotation cursor symbol will be found in the left upper corner.
Just move the mouse curser over the symbol to open the annotation toolbar. For more information regarding using the functions - see Annotation.


To open the virtual Remote Control, Save As or print the currently shown image, just click the respective icon.
You can also exit the Fullscreen mode by minimizing the window or close the Live Preview completely.
The symbols in Fullscreen mode will be hidden automatically after a certain amount of time.
The current Live Preview can be compared side-by-side to a local stored static image.
Enable the function "Compare Live Preview with static image" in the "Preferences..." dialog box and start the Live Preview as usual in window or Fullscreen mode.
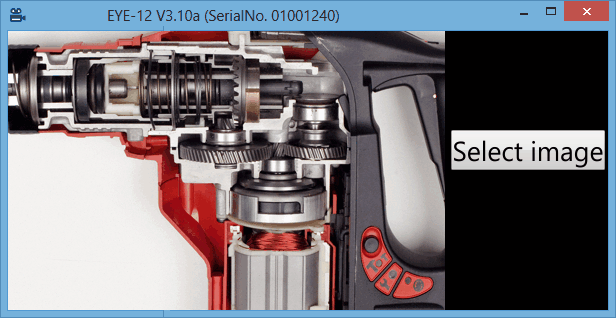
Click onto the button "select image" to select the desired static image from your local drive.
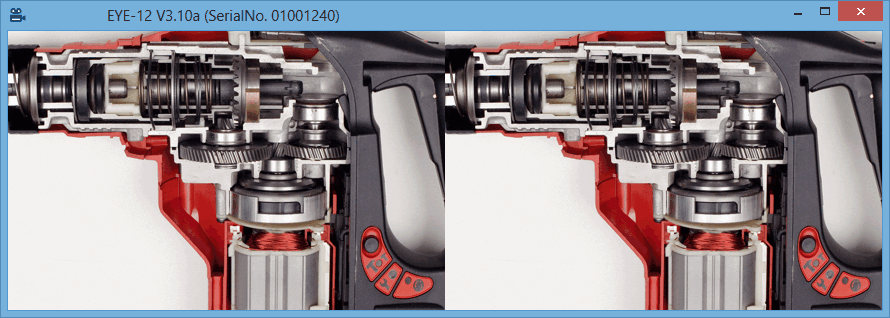
When comparison mode is activated in the "Preferences..." dialog, the context menu will be extended with image selection.
This way you can exchange the loaded static image to another one.
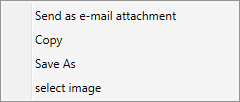
For quick use of the currently shown image simply use shortcuts to send it as e-mail attachment, copy it to clipboard or to save on your storage device.
Press [CTRL] together with the respective key for the desired action:
Key |
Function |
|
[CTRL] + [M] |
Send as e-mail attachment |
|
[CTRL] + [C] |
Copy |
|
[CTRL] + [S] |
Save As |