When saving pictures, EXIF data will be added to the file note.
Following data will be saved (examples):
Make (manufacturer): Wolfvision
Model (Visualizer type and serial number): VZ-9plus (00902004)
Software (firmware version): V1.11a
DateTime (date and time of image pick-up): 2009-12-16 18:53:39
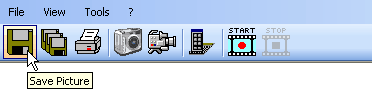
To save a captured picture on your hard disk, simply click on the "Save Picture" tool bar button or select the "Save Picture..." menu item from the "File" menu.
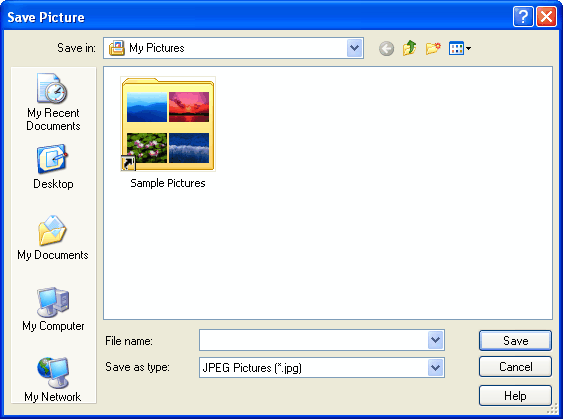
While saving a picture to your hard disk, you have to enter some information (e.g. file name, location, picture format) in order to get the picture saved.
You can also use the "Auto Save" function to save a picture without having to enter any information for the save process. All necessary information (e.g. file name, destination, format, etc.) is provided by the "Auto Save" tab on the "Preferences " dialog box.
In order to automatically save a picture one of the three supported trigger events has to occur. Which one of the three supported events will trigger the auto save function can be selected on the "Auto Save" tab. These are the three supported trigger events:
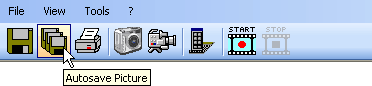
Autosave Button: You can select a key on the keyboard which will trigger the auto save process. This trigger is used for saving pictures very quickly while doing a presentation. Alternatively the "Autosave Picture" button on the tool bar or the "Autosave Picture" menu item from the "File" menu can be selected.
Timer: After you've started the auto save process by pressing the "Start Autosave Picture" button on the tool bar or selecting the "Start Autosave Picture" menu item from the "File" menu the application will save a picture every time the specified time interval has passed. The auto save function can be stopped by pressing the "Stop Autosave Picture" button on the tool bar or selecting the "Stop Autosave Picture" menu item from the "File" menu. This trigger is often used to create a log of a presentation without doing anything except of starting the process at the beginning.
Save every captured still image: Every picture which is captured in still image mode will get saved. The auto save process is started by pressing the "Start Autosave Picture" button on the tool bar or selecting the "Start Autosave Picture" menu item from the "File" menu. It can be stopped by pressing the "Stop Autosave Picture" button on the tool bar or selecting the "Stop Autosave Picture" menu item from the "File" menu. This trigger is often used for applications where a snapshot of the current Visualizer picture should be taken.