
Administration |
Currently selected devices can be switched off by just one mouse click. You can also get Device Information from the selected Visualizer(s) or change its settings with the virtual OSD Menu.
Additionally Feature Packs and Support Packs can be activated, the state of EULA (End User Agreement) can be changed, settings from Cynap can be exported or imported and the background image of Cynap can be adapted to any image (.jpg with resolution of 1920x1080 is required).

(unavailable functions are greyed out)
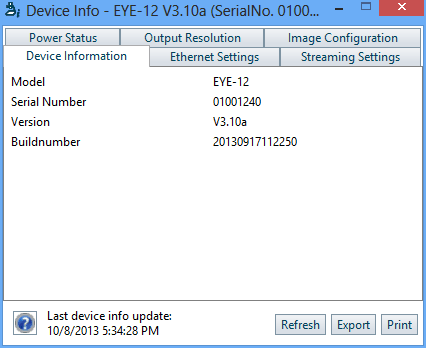
With Device Information you will get a quick overview of current Visualizer settings. The available information depends on selected Visualizer model and installed firmware version. note
To get the information use the button in the Administration ribbon or the "Device Info" command in the Context Menu of the Main Window.
Additionally the shown information can be exported as XML-file i.e. for comparison with other devices.
one unit is selected:
two units are selected:
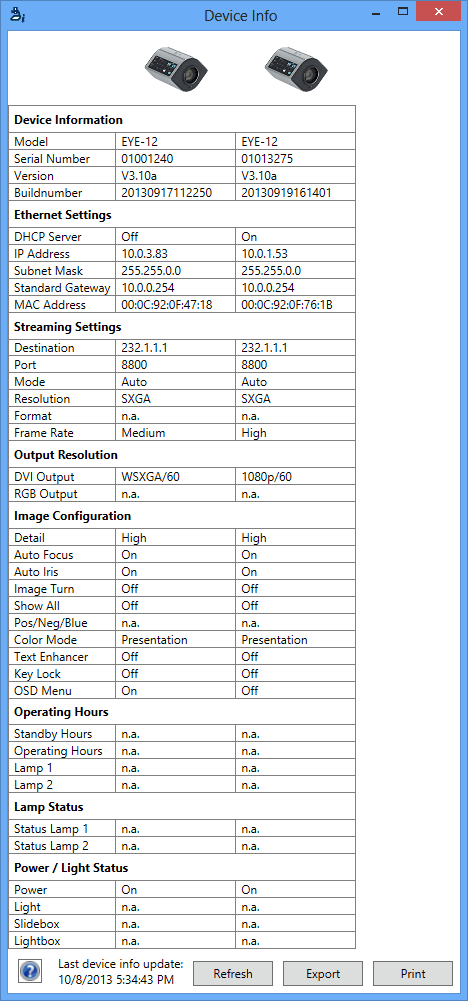
Click the Refresh button to update the Device Information when anything is changed in the on-screen menu of the Visualizer.
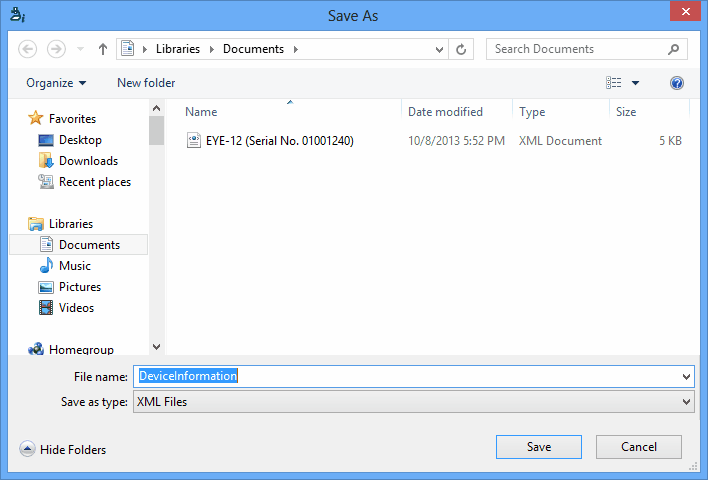
A pop-up message will inform you when the settings are saved on your computer.

Select the desired settings and click "Print" to print out the picture.
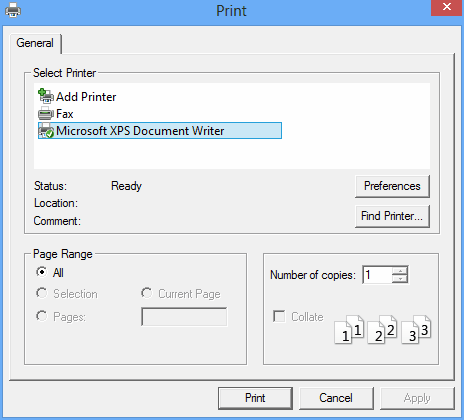
example of printed Device Info as pdf-file (PDF viewer necessary)
In the virtual OSD menu you can change the settings which can be accessed in the Visualizer on-screen menu. note
To open the virtual OSD menu use the button in the Administration ribbon or the "OSD Menu" command in the Context Menu of the Main Window.
The availability of specific functions are depending on Visualizer model and firmware version.
Settings for Authentication like password cannot be changed in the virtual OSD, use real on-screen menu of the Visualizer instead.
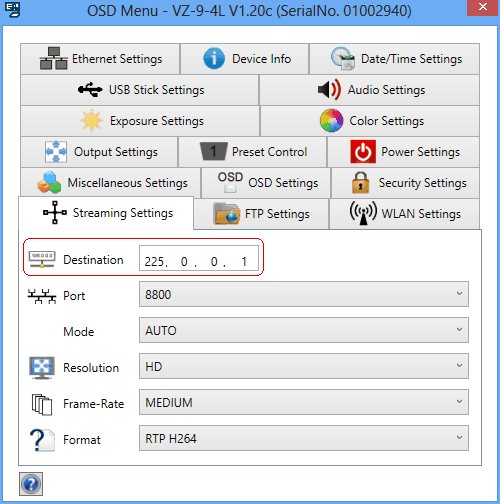
To use UDP Singlecast edit the respective settings in the OSD.
enter the IP address of the receiving device (PC, recorder) in the field "DESTINATION".
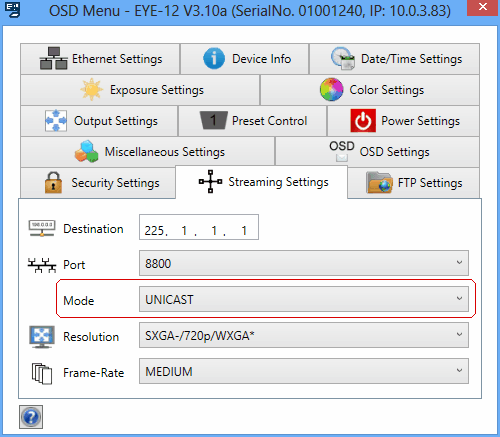
Select Streaming-Mode "UNICAST"
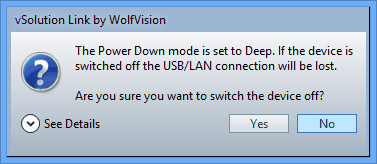
When executing the "Power Off" function, a pop-up message will appear which is asking for verification.
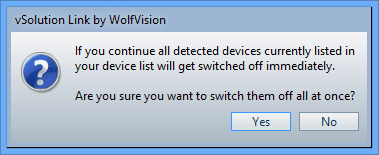
In case Deep-Power-Down (availability depends on model and firmware) is selected in the units on-screen menu, a message will pop-up before the unit can be switched off.
Depending on device model and firmware, WolfVision offers the possibility to upgrade using an optional Feature Pack which adds additional functionality. This upgrade is activated by loading a valid Feature Pack code.
The Feature Pack code is a unique number and it depends on the serial number of the WolfVision device.
The code can be supplied by your partner (together with the unit or separately).
Any questions regarding Feature Pack code availability, please contact either your partner or WolfVision directly (see Contacts).
The Feature Pack is not pre-installed and user activation is required!
Enable the Feature pack by using one of the two following methods:
1. Use vSolution Link by WolfVision, selecting the Administration tab, and then clicking on Online/Offline Activation.
OR
2. Connect a pre-prepared USB stick to the Visualizer and follow the on-screen instructions
Select the either Online or Offline activation on the “Administration” ribbon.
Online activation requires an internet connection for the application vSolution Link.
Offline activation requires the activation file or at least the activation code.
When Online Activation is selected, the application vSolution Link checks the WolfVision-server for available keys depending the serial numbers of currently connected devices. The detected devices inclusive respective available Activation Keys will be shown in a table.
Select the desired devices by checking the boxes on the left and click "Activate" to proceed.

Please wait until this dialog box disappears and don't disconnect any Visualizer nor internet connection of the used computer!


Failed activation process will be marked with an exclamation mark and "Activation Error" in the status-column:

Please repeat the activation process later. If not successful, please contact WolfVision directly (see Contacts).
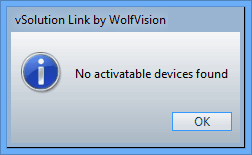
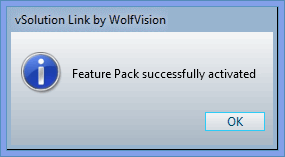
When the Feature Pack is already activated on the connected device(s) or no supported device can be recognized by the application, a message will be prompted:
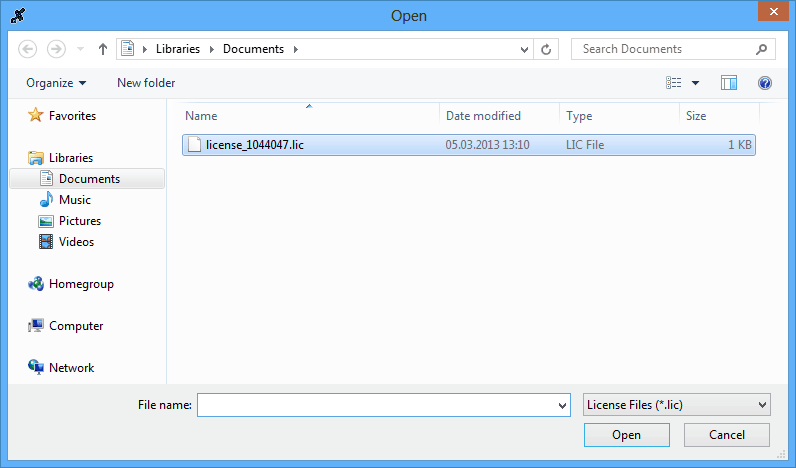
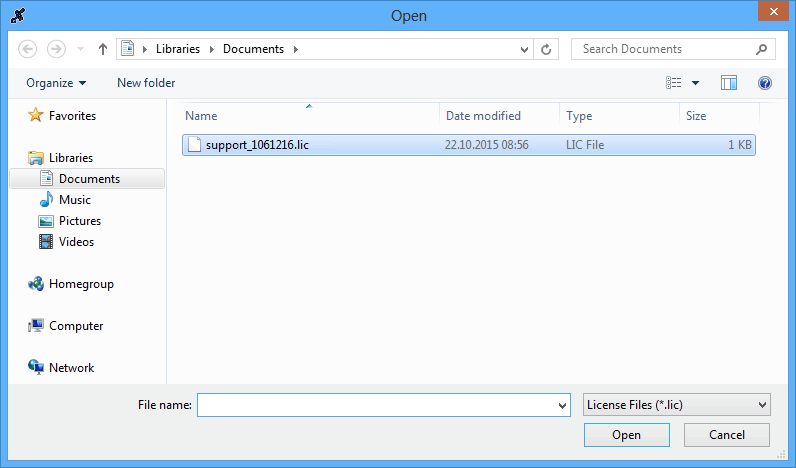
Activation requires the activation file which includes the code. The files are named with the respective device serial number (license_serial number.lic).

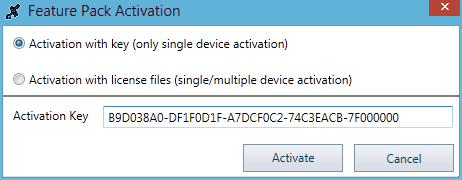
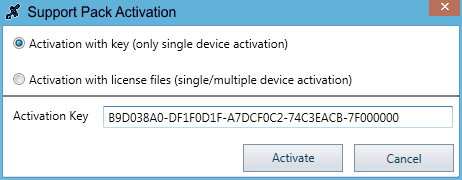
Activation requires the activation key (code).
Input the characters very carefully inclusive hyphen - blank characters are not allowed.
When you trying to activate a Feature Pack on not-supported devices, an error message will be prompted.
For example the EYE-12 do not support Feature Pack functionality:

- Connect a power source and a monitor to the Visualizer then switch on the Visualizer
- Plug in the USB stick.
- A pop-up message will ask if you want to enable the features.
- Use the navigation keys on the camera head to confirm the line “YES”.
Please note that you will not be able to use the remote control until the additional features have been activated.
Every brand new Cynap offers one year of support to get e.g. updates. To extend the support period according your contract/invoice, a respective support pack needs to be activated. This upgrade is activated by loading a valid Support Pack code.
The Support Pack code is a unique number and it depends on the serial number of the particular Cynap.
The code can be supplied by your partner (together with the device).
Any questions regarding Support Pack code availability, please contact either your partner or WolfVision directly (see Contacts).
The Support Pack is not pre-installed and user activation is required!
Enable the Support pack by using the software vSolution Link by WolfVision, selecting the Administration tab, and then clicking on Online/Offline Activation.
Select the either Online or Offline activation on the “Administration” ribbon.
Online activation requires an internet connection for the application vSolution Link.
Offline activation requires the activation file or at least the activation code.
When Online Activation is selected, the application vSolution Link checks the WolfVision-server for available keys depending the serial numbers of currently connected devices. The detected devices inclusive respective available Activation Keys will be shown in a table.
Select the desired devices by checking the boxes on the left and click "Activate" to proceed.

Please wait until this dialog box disappears and don't disconnect any device nor internet connection of the used computer!


Failed activation process will be marked with an exclamation mark and "Activation Error" in the status-column:

Please repeat the activation process later. If not successful, please contact WolfVision directly (see Contacts).
When the Supprt Pack is already activated on the connected device(s) or no supported device can be recognized by the application, a message will be prompted:

Activation requires the activation file which includes the code. The files are named with the respective device serial number (license_serial number.lic).

Activation requires the activation key (code).
Input the characters very carefully inclusive hyphen - blank characters are not allowed.
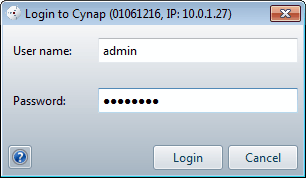
Login required
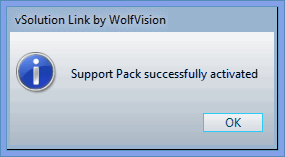
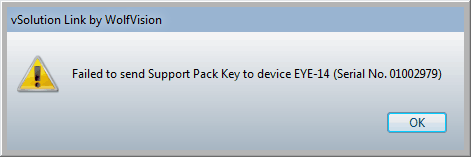
When you trying to activate a Support Pack on not-supported devices, an error message will be prompted.
For example the EYE-14 do not support Support Pack functionality and the Support Pack cannot be activated:
The EULA (End User License Agreement) of Cynap need to be agreed before Cynap can be used. The agreements will pop-up on e.g. HDMI-out and browser access.
The status of the agreement can be set back.
To export some preferences to your hard disk or import previously exported settings from your hard disk. This can be helpful to ensure the use of the same preferences on several Cynap devices.
Login required

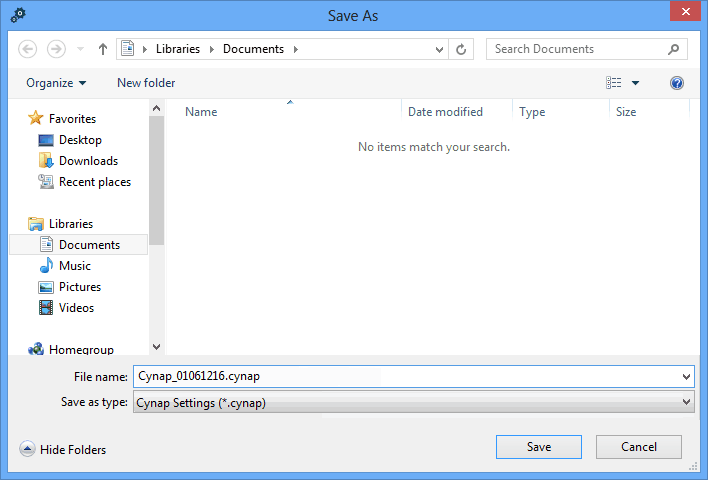
The file name should be short and meaning full for easier differentiation afterwards (example: "Cynap_01061216.cynap").
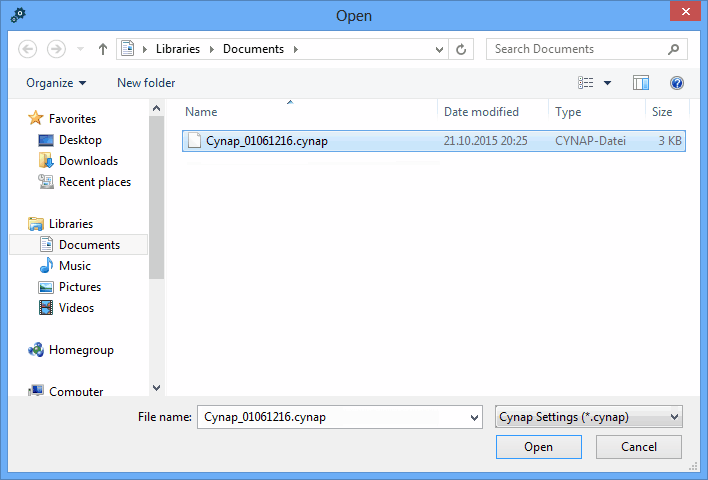
Select the desired file.
A pop-up message will inform you when the settings are imported.
Click onto "See Details" to show the selected Cynap device.
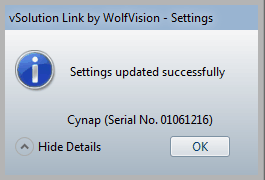
A respective pop-up message will inform you when a not compatible file was tried to import.
To personalize your Cynap, exchange the background image.
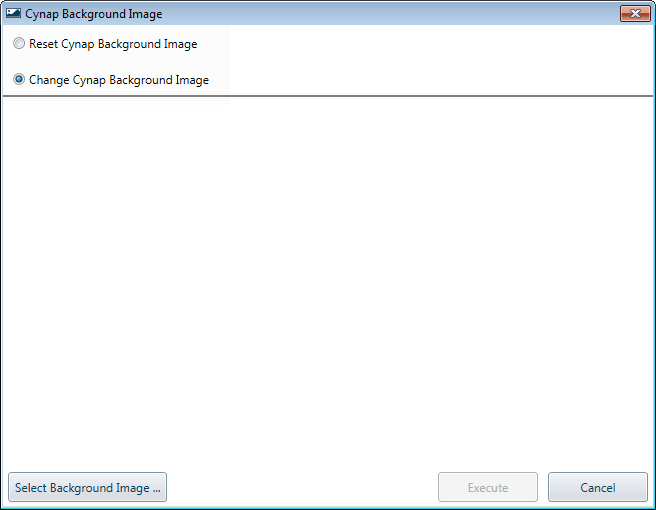
Click onto the button "Select Background Image" to select the desired image from your local drive (.jpg with resolution of 1920x1080). When the file is selected in the file explorer, click onto "Execute" to confirm or "Cancel" to abort.
To restore the initial background image of Cynap, click onto the button "Remove Cynap Background Image".