Installation |
|
IMPORTANT |
|
Install the software vSolution Link before connecting a WolfVision Visualizer to your computer! note |
IMPORTANT |
|
During the installation you might get asked if you want to replace newer files on your computer by older ones. If this is the case simply keep the newer files. |
Start the installation of the software by double clicking on the "vSolutionLinkSetup.exe" file.
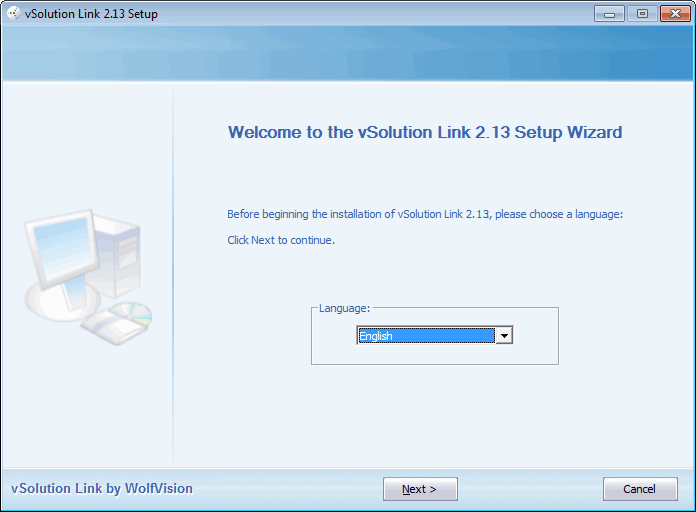
Select the desired language and click "Next" button to continue the installation.
Read the software license agreement. When you agree with the license, check the "I accept the terms of License Agreement" box and click the "Next" button to proceed the installation. Otherwise click the "Cancel" button to abort the installation.

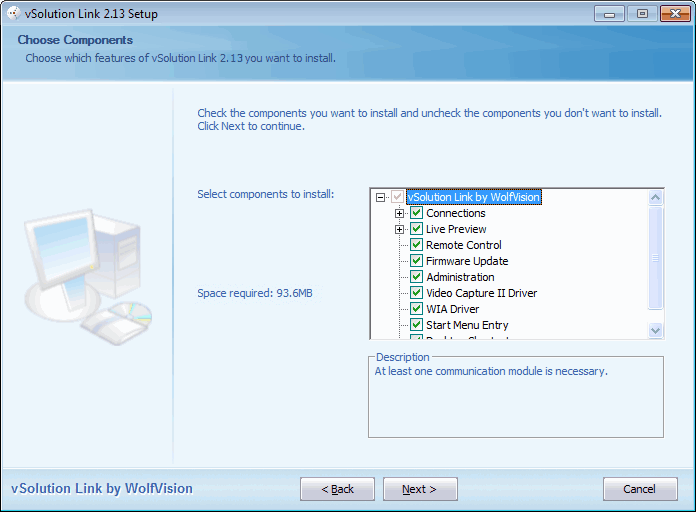
Select the desired options and click the "Next" button to proceed the installation (all components are selected by default).
To get a description of a component, just position your mouse over the desired component and read the "Description" box.
To change availability of installed components, just re-start the setup and change the settings.
The installer will start. Click the "Install" button to proceed.
The program files and all necessary drivers will be installed into the default folder:
C:\Program Files\WolfVision\vSolution Link note
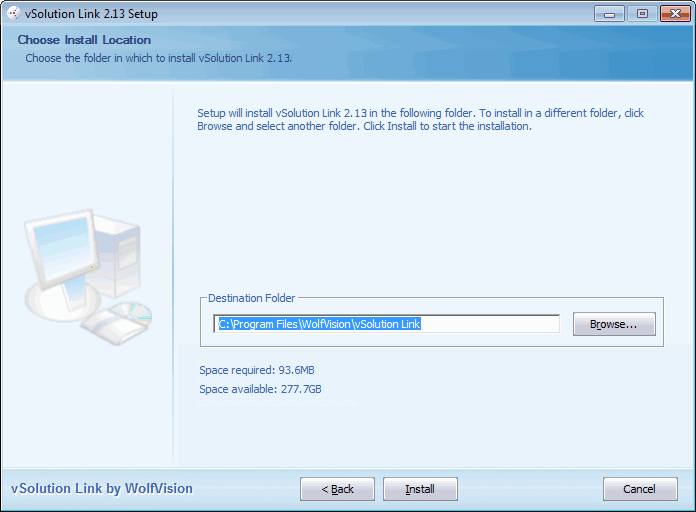
If required, enter a different destination folder as installation location.
When clicking the "Browse..." icon, the destination folder for installation can be selected.

Please wait until all necessary files are installed.

During the setup, some drivers will be installed for the selected components. A warning message may pop-up and needs to be confirmed to proceed.
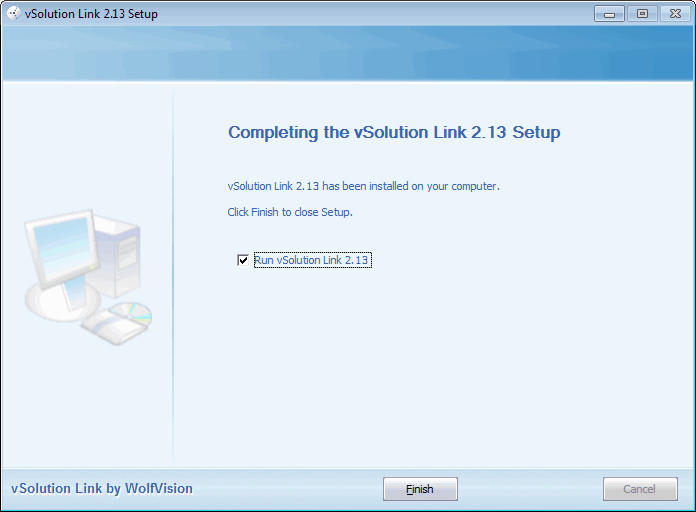
Check "Run vSolution Link 2.13" to start the software after completion.
Click the "Finish" button to complete the installation.
The application vSolution Link can be installed in silent mode and/or pre-defined settings can be used. This would be helpful when it needs to install the software on a huge amount of different computers. additional information
When starting the Software the first time, the Setup Configuration Wizard will appear. You can use "Default Settings" or "User Defined Settings".
When "Use default settings" is selected, all preferences are set to default. Click "Finish" to complete.
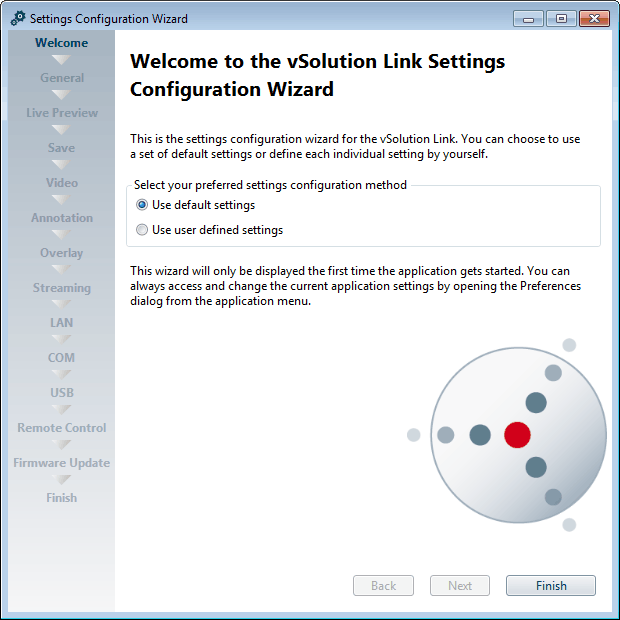
When "Use user defined settings" is selected, all preferences have to be set as desired. Click "Next" to proceed.

Example:

All settings can be modified afterwards in the Preference dialog in the "File" Ribbon Tab (Live Preview, Save, Video, Annotation, Overlay, Streaming, LAN, USB, COM, Remote Control, Firmware Update, General).
As soon all preferences are set, click "Finish" to complete or "Previous" to change previous settings.

Please note, Configuration Wizard is a one-time setup and will not pop-up again after update or re-installations. more information
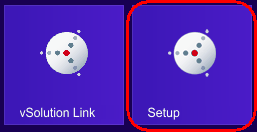
Select Setup in on the Metro screen of Windows 8, 8.1 or 10
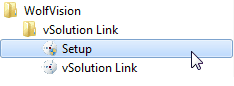
When using the start menu (availability depends on Windows version), click onto the Windows logo on the left lower corner and select "Setup" in the folder "All Programs / WolfVision / vSolution Link".
Click "Modify" to add or remove any software components.
Click "Repair" to re-install the software with all selected components, changes are not possible.
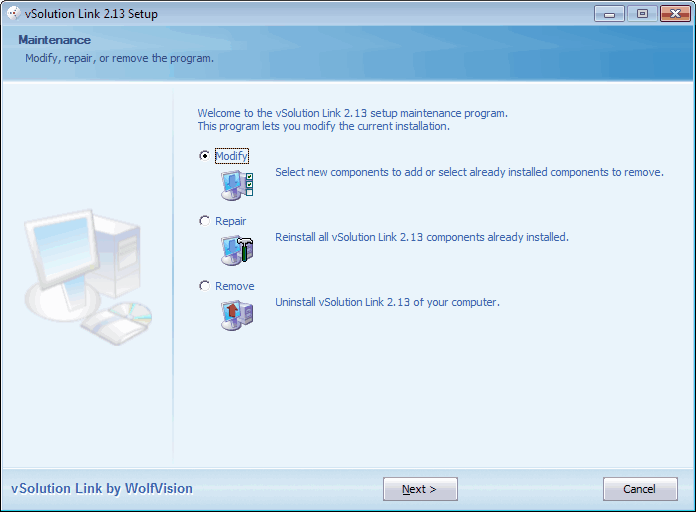
To remove the software completely, click "Remove" and "Uninstall" to confirm the uninstallation.
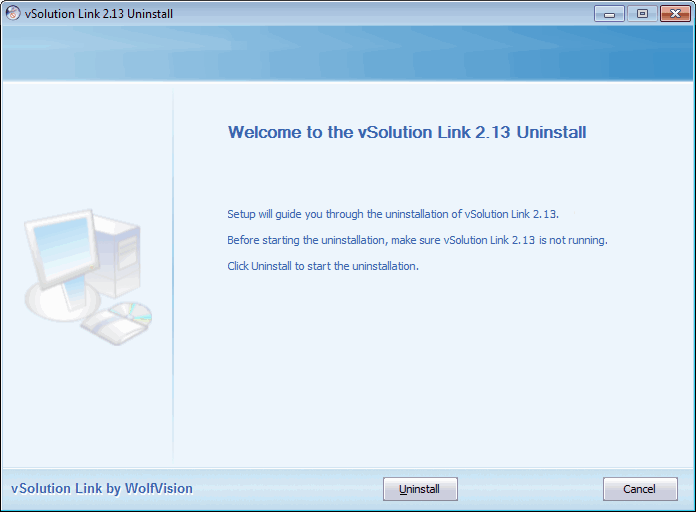
Running uninstall (Remove)

A pop-up message will inform you as soon as the software is removed from your computer.

Please note, user settings will be kept for further installations. more information