IMPORTANT |
|
Install the WolfVision Connectivity software before connecting a WolfVision Visualizer to your computer! |
IMPORTANT |
|
During the installation you might get asked if you want to replace newer files on your computer by older ones. If this is the case simply keep the newer files. |
IMPORTANT |
|
If you have already connected a WolfVision Visualizer to one of your computers USB ports before you started the installation of the software the USB cable has to be unplugged and replugged again in order to trigger the Windows operating system to install the appropriate USB device driver after the software was successfully installed. |
Start the installation of the WolfVision Connectivity software by double clicking on the "wolfusb_win.exe" file. note
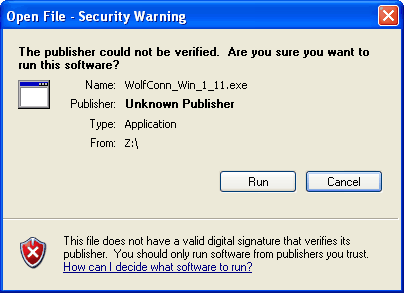
Click "Run" button.
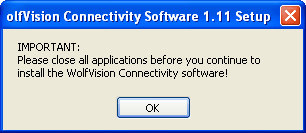
Click "OK" button to start the installation.
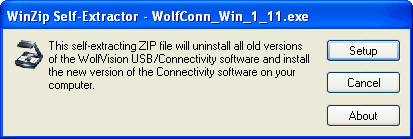
Click "Setup" button to start the file extraction.
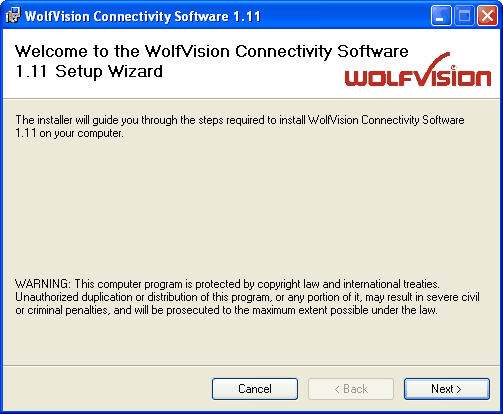
Click "Next" button to continue the installation.
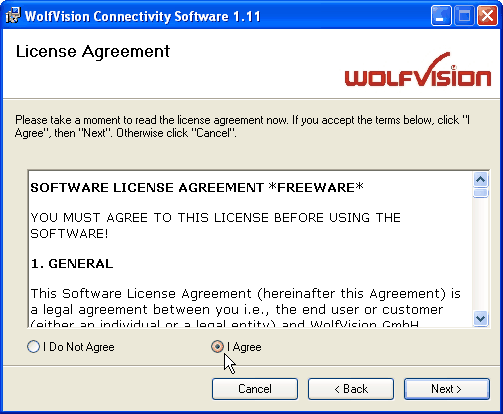
Read the software license agreement. When you agree with the license, click the "I Agree" button to proceed the installation. Otherwise click the "I Do Not Agree" button to abort the installation.
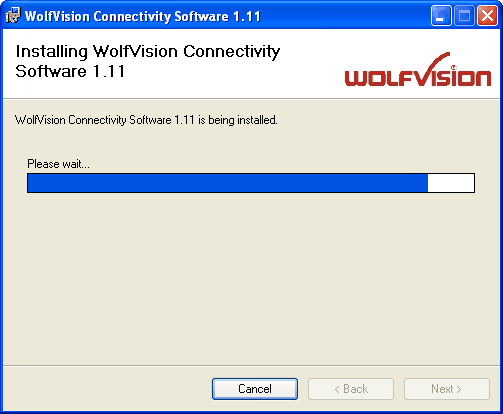
The installer will start.
The program files and all necessary drivers will be installed in the default directory:
C:\Program Files\WolfVision\Connectivity note
If required, enter a different destination folder as installation location.
Choose the setup mode to install the software for all users or for the current user only.
When clicking the "Browse..." icon, the destination folder for installation can be selected.
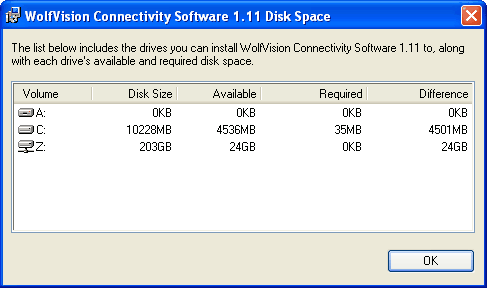
When clicking the "Disk Cost..." icon, the necessary disk space is displayed in comparison to the available hard disks.

Click "Next" button to continue the installation.
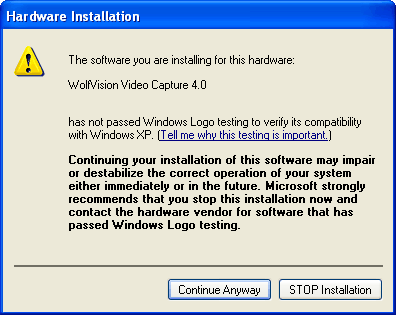
During the software installation, two or even more Windows Logo test warning messages will appear. Simply confirm them by clicking on the "Continue Anyway" button.

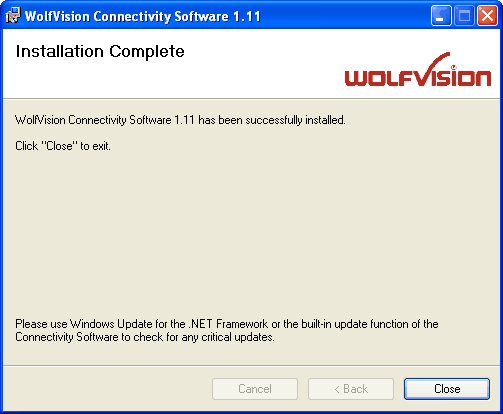
Click "Close" button to finish the installation.